
Introduction
A PVC pipe extrusion line can show a steady speed on the operator screen while the finished pipe comes out shorter than expected or develops repeating track marks. Before changing the speed setting, find out whether the haul-off tracks are moving at the commanded rate, whether the pipe is moving with the tracks and whether the cutter is measuring the actual pipe travel correctly.
These checks matter because similar symptoms can begin at different stations. A change in material delivery can alter the pipe dimensions while pulling speed remains steady. A worn track pad can affect grip even when the drive display looks normal. An error in the length measurement system can change cut length without a corresponding change in pipe speed.
This PVC pipe haul-off speed troubleshooting guide explains how to compare those observations, read the production record and verify whether a correction worked.
What Does the Haul-Off Do on a PVC Pipe Line?
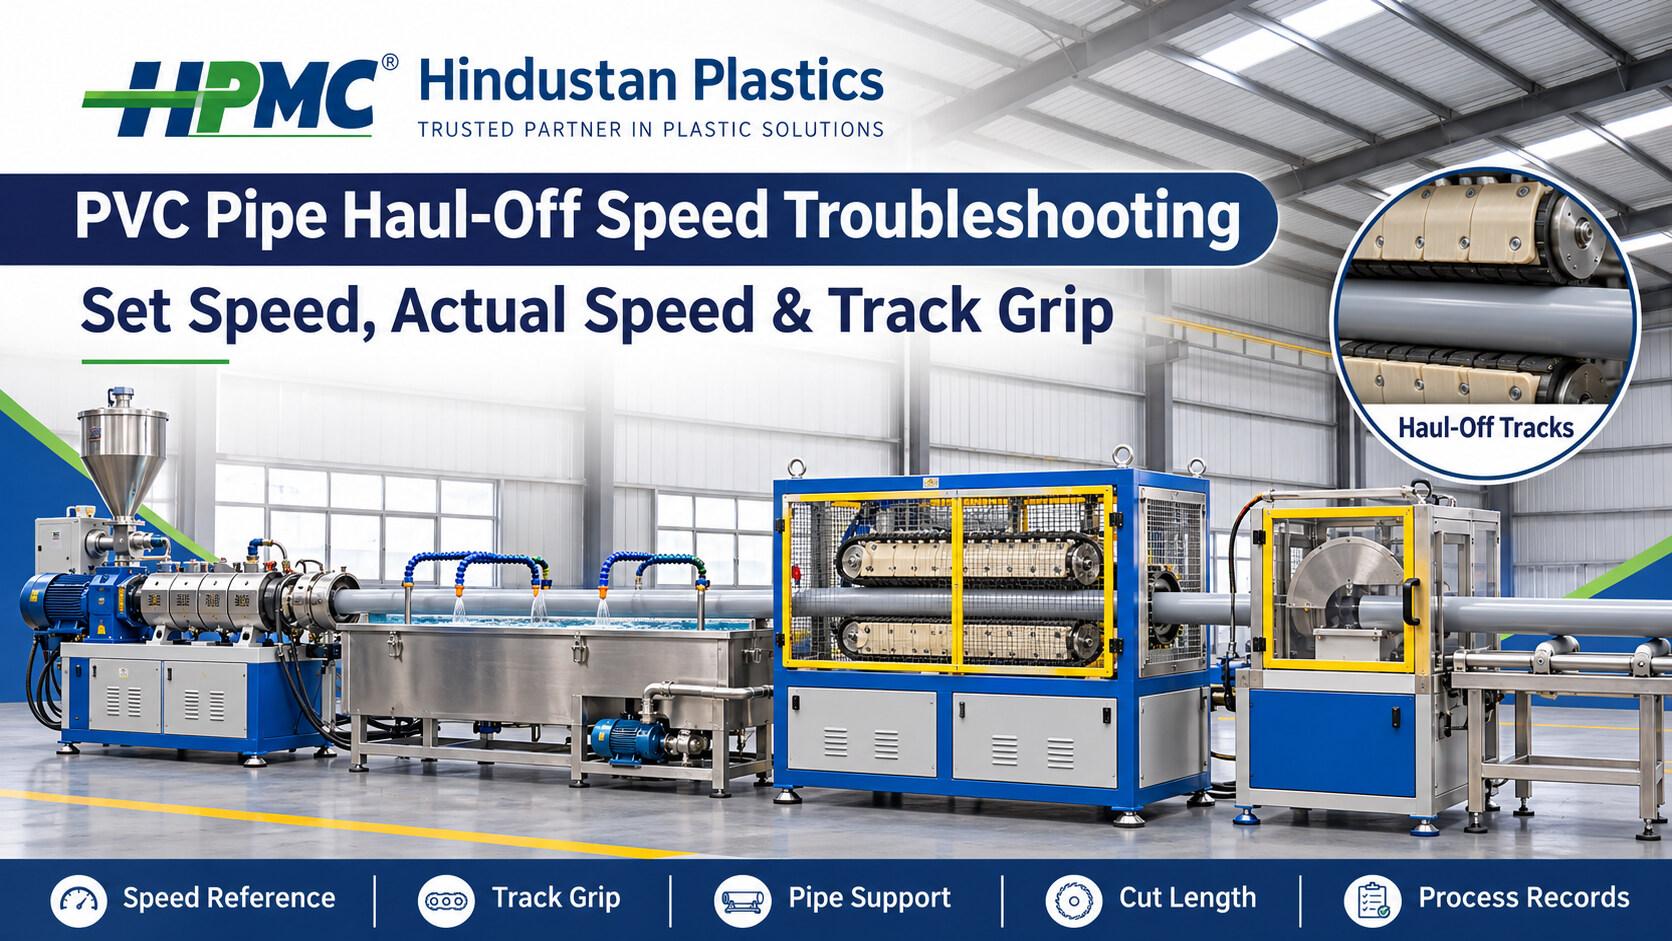
The haul-off, often called a caterpillar puller, draws the pipe through the downstream equipment at a controlled rate. The pipe is formed at the die, sized and cooled, then pulled towards the cutting station. The puller has to work with the rate at which material leaves the extruder and with the support and cooling available for the product being made.
A line may have a speed setting on the operator interface, a feedback value from the drive and a separate length measurement system. Ask the equipment team what each display represents. A value labelled line speed may come from the drive or another sensor, depending on the machine. HPMC’s PVC Pipe Extrusion Line guide explains where the haul-off fits in the production sequence.
Identify Which Speed the Machine Is Reporting
Start by recording the displayed value, its unit and its source. Some records use metres per minute, while others report motor speed or drive frequency. Keep the original units beside each reading and use only an approved conversion when comparing values.
- Commanded speed. Record the speed request sent to the haul-off and the time the setting was entered or changed.
- Drive feedback. Record the actual feedback available on the machine. Ask whether it represents the motor, a drive output or movement measured at a track.
- Pipe travel. Use the line’s approved measurement method to verify how far the pipe actually travels during the agreed interval. Take readings from the designated inspection or measurement point.
- Length measurement. Identify the sensor or measuring system used by the cutter. Record the indicated length and compare it with finished pieces measured through the normal quality procedure.
Keep these readings together with the sample identity and time. A commanded speed and a motor feedback value may agree while the pipe travels more slowly at a point where grip is lost. Equally, if the pipe travel is consistent and finished lengths are off target, the cutter and length measurement system deserve separate attention.
Build a Baseline Before Reviewing the Fault
Use a run on the same pipe size and wall specification whenever possible. Record the tooling, compound batch, target output, haul-off setup and whether the line was running steadily. Note the time of any changeover, interruption or adjustment. Startup and steady production readings are easier to interpret when they are clearly labelled.
Collect a series of consecutive finished pipes and measure them through the normal inspection process. Keep the sequence intact so the team can see whether the problem repeats at a regular interval or occurs only after a stop. Record diameter, wall thickness and surface marks if those characteristics also changed.
Use production trends where available and write down how the equipment identifies time. A sample collected at the cutter was formed upstream earlier. If settings changed just before the sample was collected, the finished piece may still reflect the earlier conditions. Match the readings with the actual travel time before judging the effect of an adjustment.
Pattern 1. The Speed Feedback Changes During the Run
If the command stays steady and the reported drive feedback varies, check that the readings came from the same period and that the display or trend is using the expected unit. Look at whether the change appears when the line starts, when the operator changes product sizes or while production is already stable.
Share the speed history and any alarms with the equipment team. The technician can review the relevant drive, feedback and mechanical checks under the manufacturer’s procedure. If there are multiple tracks, identify which feedback signals the machine provides and whether the variation is common to the unit or associated with one side.
Check whether the finished pipe changed at the same point in the run. If the reported speed varied and the finished pipe shows a corresponding change in cut length or dimensions, document that connection. The observation gives the team a starting point for investigation. Confirm it on additional samples before deciding what caused the result.
Pattern 2. The Tracks Move Steadily but the Pipe Travel Changes
If track movement is stable and independently verified pipe travel is lower or varies, review the contact between the pipe and tracks. The issue may appear only on a particular diameter, after a tooling change or when the pipe reaches the puller in a different condition. Record which pieces are affected and whether they have marks or changes in shape.
- Track pads. Ask the equipment team to inspect the pad condition, consistency and suitability for the pipe size.
- Grip and alignment. Have the technician review how the tracks contact the pipe and whether the contact is consistent across the unit.
- Pipe support. Record how the pipe approaches and leaves the haul-off. Check whether a support or guide changed during the affected period.
- Pipe condition. Note any change in surface moisture or pipe shape at the puller. Compare the observation with the cooling and handling record.
If marks recur at a regular interval, keep several marked samples and record the spacing. Compare the pattern with equipment observations before assigning a cause. HPMC’s Spare Parts service can help identify components when the equipment team has determined which parts need inspection or replacement.
Pattern 3. Pipe Travel Is Stable but Cut Length Varies
Check whether the finished pipes are consistently short or whether the lengths alternate between short and long. A consistent offset and irregular variation give the technician different evidence. Confirm where the length was measured, how the cut end was defined and whether the piece had reached the condition required by the inspection method.
Next, compare the cutter’s recorded length with the finished measurements. If the two disagree while independently measured pipe travel remains steady, ask the equipment team to review the length measuring system and how the cut is triggered. Depending on the configuration, that may include the measuring wheel, encoder feedback or cutter timing.
Review the cut ends as well. An angled or rough end can make measurement inconsistent and may give the impression of a length problem. HPMC’s guide to common PVC pipe extrusion defects covers inconsistent pipe length and other symptoms that can accompany downstream problems.
Pattern 4. Pipe Dimensions Change While Speed Stays Steady
If the pipe travel and cut length stay consistent but diameter or wall thickness changes, broaden the investigation. Review material delivery, die setup, calibration and cooling records. A stable haul-off reading does not tell you whether the amount of material being delivered to the die stayed the same.
Check which measurement changed first. If the whole section becomes thinner over time, compare the samples with operating records from that part of the run. If the pipe remains thinner on the same side across several sections, preserve the sample orientation and ask the equipment team to review tooling and material distribution. A wall thickness reading alone cannot identify a haul-off fault.
When the team needs to review the upstream equipment, HPMC’s Conical Twin Screw Extruder provides context on the PVC extrusion stage. Compare the process records from your own machine before linking the defect to a specific component.
An Example of Comparing Readings
Suppose the haul-off command is 6.0 metres per minute and the drive feedback is steady. Over an approved 30-second measurement interval, the pipe travels 2.7 metres. The measured pipe travel corresponds to 5.4 metres per minute. If the feedback is a motor-derived estimate, the difference gives the technician a reason to check how track movement and pipe movement are being measured before concluding that the tracks have slipped.
Now suppose a repeat check shows that the pipe consistently travels 3.0 metres in 30 seconds, which corresponds to the commanded 6.0 metres per minute. The cutter still produces pieces shorter than the target. In this case, record the cutter indication and the finished lengths so the equipment team can review the downstream measurement and cut sequence.
These figures illustrate the calculation. Use your own line records and the product specification for operating decisions and acceptance checks. Repeat the test over comparable intervals, and record any interruption during the measurement window.
Compare the Symptoms in the Order They Appeared
A useful production record shows what happened first. If pipe travel slows before the cutter produces a short piece, keep both observations. If short pieces appear while travel stays consistent, write down which sensor or measuring system supplied the cutter’s reading. A short finished piece can be a useful clue when it is connected to the conditions under which it was produced.
Keep the sequence when you submit samples. For instance, number five pieces in the order they came off the line and record the length of each. If every second piece is short, report the sequence as well as the average. If all five are short by roughly the same amount, record that pattern separately. These two records can have similar averages while pointing to different questions about measurement, timing and repeatability.
Keep a Record the Next Shift Can Reuse
Use one row for each sample or measurement window. Include the product size, material batch, time and the point at which the reading was taken. Record the speed command, feedback source, independently verified travel and cutter indication when available. Leave an unavailable reading blank or label it as unavailable so the next shift can distinguish it from a measured zero.
Record the finished length and any visible mark or change in diameter beside the sample number. If the team measures a defect at a specific position, note the orientation and location. Photographs with sample labels can help the technician connect the inspection record to the piece.
At handover, identify which observations were repeated and which were seen once. List the approved check that would help the next shift verify the result. A measurement taken on the same product under comparable conditions is easier to interpret than a result from an unrelated run.
If two operators use different inspection stations, note where each sample was taken and how its timing was recorded. Compare the stations only after confirming that the pipe travelled through the same production stages. Retain the records with the sample labels so they can be reviewed after the line returns to normal production.
What to Check After a Size Change
A pipe size change can introduce different support, tooling and haul-off contact conditions. Keep the approved settings and sample results for each size together. Record what changed before the first affected piece appeared, including which guides, pads or cutting settings were used.
Take an approved sample once the line has stabilised and record how long it took to get there. If the same symptom appears after every change to a certain size, compare that pattern with a run that produced acceptable pipes. Use the same measurement point and units so differences reflect the run conditions.
If the issue appears only after startup, compare startup samples with later samples from the same size. If the issue appears after an interruption, record the time between restart and the first acceptable piece. These records help the next shift decide which checks to repeat.
Verify the Correction Before Closing the Investigation
Agree on what counts as a successful result before a technician changes the setup. Keep the baseline, the sample sequence and the settings in one record. Document the correction and repeat the same inspection under comparable conditions.
- Speed and travel. Compare the command, relevant feedback and actual pipe travel over the same measurement window.
- Finished lengths. Measure several consecutive pieces and record the results individually.
- Pipe condition. Review any related changes in surface marks, diameter, wall thickness or roundness.
- Repeatability. Check whether the result holds during a representative run or changeover, depending on when the original problem occurred.
If an adjustment solves one symptom and another remains, continue the investigation using the new baseline. Ask the supplier to review the sample record and the line configuration when the cause remains unclear. HPMC outlines its troubleshooting support under Technical Assistance.
What to Send When Requesting Equipment Support
Send the pipe size, tooling references, compound batch and a short description of the affected run. Attach the command and feedback readings with units, measured pipe travel, cutter readings and finished lengths. Include timestamps and note whether the samples came from startup, stable production or a changeover.
Describe the order in which the symptoms appeared. For example, say whether the first observation was a change in measured travel, a short finished piece or a surface mark. If a setting or component was changed, provide the result before and after the work. This gives the service team enough context to review the likely station and ask for the next measurement.
Conclusion
PVC pipe haul-off speed troubleshooting starts by identifying the source of each speed reading. Compare the command, feedback and actual pipe travel, then check cut length and pipe condition on labelled samples. Use the results to decide whether the investigation should focus on the drive, track contact, upstream extrusion or downstream cutting. Repeat the same measurements after the correction to verify the outcome.
Contact HPMC
HPMC (Hindustan Plastics and Machinery Corporation).
Share your line configuration, pipe size, speed records and finished sample measurements with HPMC to discuss equipment checks and technical support.
Address: 5, Category II, DSIDC Industrial Area, Nangloi, Delhi – 110041, India.
Phone: +91 95605 96392.
Email: info@hindustanplastics.com.
Frequently Asked Questions
Find quick answers to the most common questions about this topic.
It is the unit that pulls the pipe through the line at a controlled rate after forming, sizing and cooling. It moves the pipe towards the cutter.
The display may represent a command or a drive-derived value. Verify the source of the reading and compare it with pipe travel measured by the approved method.
Compare verified track movement with actual pipe travel during the same period. If they differ, ask the equipment team to review grip, pad condition, alignment and pipe support.
Yes. If actual pipe travel is steady, compare the cutter’s length reading with the measured finished pieces. The length measuring system or cut sequence may need review.
Record the pipe size, sample sequence, mark spacing and any recent changes in cooling, support or haul-off setup. Keep representative samples for inspection.
Pulling conditions can influence dimensions in combination with material delivery and the downstream setup. Compare actual speed, output records and measured wall thickness before identifying the cause.
A new size can change the tooling, support or track contact conditions. Compare the affected setup with the approved settings and inspection results for that size.
Divide the measured travel distance by the elapsed time using consistent units. For example, 3 metres in 30 seconds corresponds to 6 metres per minute.
Repeat the same speed, travel and finished pipe checks on several consecutive samples. Compare the new results with the baseline under comparable conditions.
Send the pipe size, line configuration, speed readings, measured travel, finished lengths and relevant timestamps. Include recent adjustments and photos of affected samples where available.