
Introduction
A PVC pipe can leave the die with a steady appearance and still fall outside its dimensional limits after cooling. The extruder and die shape the incoming material, while the sizing sleeve and downstream cooling equipment help establish the finished outside diameter. The vacuum sizing tank provides a controlled environment for that transition. Its configuration affects how consistently the pipe passes through the sleeve, cools and reaches the haul-off.
PVC pipe vacuum sizing tank selection starts with the products the line must make. A line producing small conduit at higher speeds has different needs from a line making larger, thicker pipes. Compare tanks against your pipe sizes, production rates, cooling utilities and changeover schedule before committing to a configuration.
What Does a PVC Pipe Vacuum Sizing Tank Do?
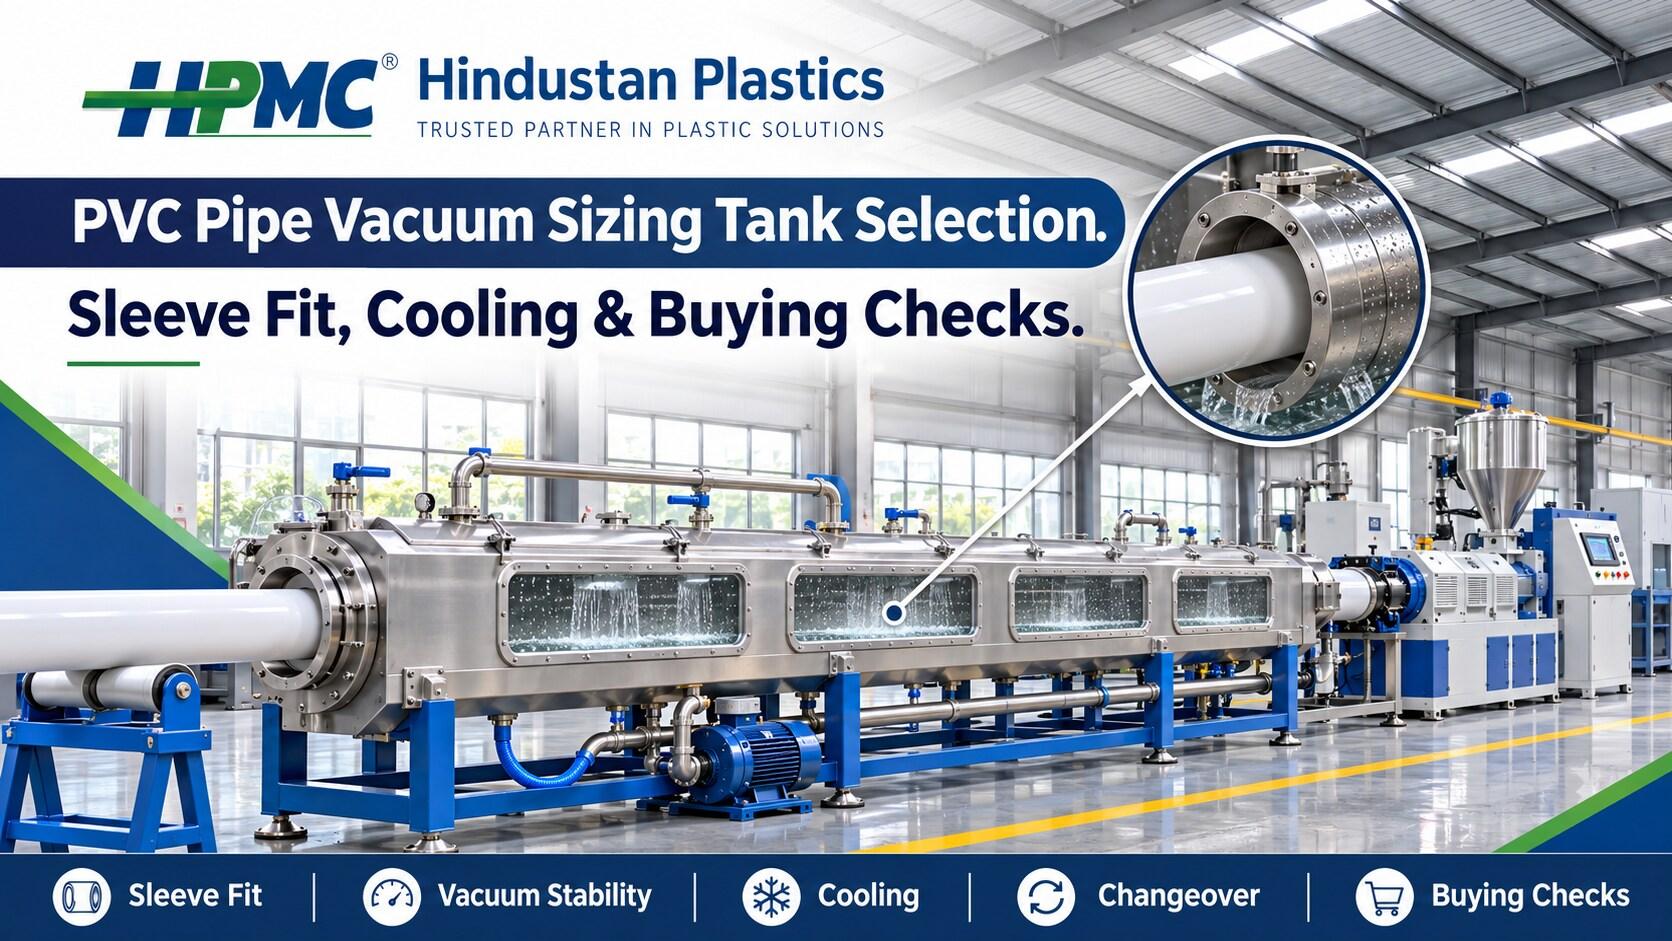
A vacuum sizing tank houses the initial sizing and cooling stage of a pipe extrusion line. In a typical external vacuum sizing arrangement, the pressure difference helps hold the warm pipe against a calibrated sleeve while cooling begins. The sleeve provides the reference surface for the outside diameter. Water removes heat as the pipe moves through the sizing and cooling sections.
The tank works as part of a line. The die delivers the hot tube, the sizing section helps establish its outside dimensions, and the haul-off draws it downstream. Additional cooling may be needed before the pipe reaches the cutter or other handling equipment. For an overview of these stages, see HPMC’s PVC pipe extrusion line guide.
Start With Your Pipe Size and Production Matrix
List the Actual Outside Diameters and Wall Thicknesses
Give the supplier the outside diameter and wall thickness for each intended pipe. Include dimensional tolerances and the applicable product specification. A quotation that lists a nominal size range can leave questions about the sleeves, seals and supports included for individual sizes.
Identify the sizes that account for most of your production. Also list the combinations that may be difficult to run, such as the smallest pipe at its highest planned speed or the thickest pipe at its target output. Two pipes with the same outside diameter can have different cooling requirements because their wall thickness and mass per metre differ.
Record Both Line Speed and Output
Specify target speed in metres per minute and output in kilograms per hour for each representative product. Line speed determines how much time a pipe spends in a given cooling length. Mass output helps the supplier assess the heat that must be removed as the material cools.
If your production plan quotes only kilograms per hour, calculate the corresponding speed using the mass per metre of the pipe. For example, a pipe weighing 0.5 kg per metre would run at 6 metres per minute at an output of 180 kg per hour. Use your actual product weight and planned running conditions in the enquiry.
Include the Number of Pipe Strands
A dual-output line needs enough space and suitable tooling for both pipe paths. Ask how each strand is supported and how water and vacuum are distributed. Also check whether one strand can be adjusted or serviced independently where your production plan calls for it. See HPMC’s PVC conduit pipe plant guide for additional context on conduit production.
Compare the Sizing Sleeve and Sealing Arrangement
Check Which Sleeves Are Included
Ask for a list of sleeves supplied with the tank and the products each sleeve covers. Check the mounting dimensions, connection details and access needed to remove or install each sleeve. If you plan to reuse existing tooling, share drawings or measurements so the supplier can confirm compatibility.
A supplier should explain how the sleeve specification accounts for the finished outside diameter and expected dimensional change as the pipe cools. Use measurements taken after cooling under the agreed inspection conditions to confirm whether the supplied tooling meets the product requirement.
Review Seals and Supports Across the Size Range
Seals help maintain the pressure difference where the pipe passes through the tank. Compare the seal options supplied for the smallest and largest products. Ask which components are size-specific and which can remain in place during a changeover.
Check how the pipe is supported inside the tank and between downstream sections. An unsupported or poorly guided pipe can move away from the intended line centre. The support arrangement should accommodate your diameter range and allow the operator to inspect and adjust the relevant positions during setup.
Check Access During Size Changes
A size change may involve the sleeve, seals, internal guides and downstream supports. Ask the supplier to show how the crew reaches these parts and whether any component needs lifting equipment. During a demonstration, time a change between two common production sizes. Record the time until acceptable pipe is produced, including setup adjustments and the initial inspection.
Assess Vacuum Capacity and Control
Ask How the System Maintains Vacuum Under Load
A pump rating is one part of the vacuum system. The tank volume, seal arrangement, expected air leakage and control method also affect performance. Ask what the supplier expects the system to maintain when the line runs with the proposed tooling and representative pipe sizes.
Find out where the vacuum is measured and what an operator can see from the control position. If the tank has multiple compartments, ask how each compartment is monitored and whether control is shared or independent. Request the proposed pump and control arrangement with the quotation so you can compare what each package includes.
Observe Stability During the Production Trial
Ask to see vacuum readings during startup and after the process settles. Record the readings alongside line speed, pipe size and inspection results. If the readings fluctuate, ask the supplier to inspect the seals, connections and operating conditions before drawing conclusions about pump capacity.
Some dimensional defects can appear with steady vacuum readings. Compare the pipe measurements with the die setup, cooling performance and haul-off conditions recorded during the same run. HPMC’s guide to common PVC pipe extrusion defects covers other production factors worth investigating.
Select Cooling Capacity and Tank Length Together
Check How Water Reaches the Pipe
Ask whether the proposed tank uses spray cooling, immersion or another arrangement for your products. For a spray system, check nozzle access, coverage around the pipe and the ease of cleaning filters. For a recirculating system, ask how water returns to the pump and how the system manages solids or scale.
Confirm the required water flow, supply temperature range and water quality with the supplier. Compare those requirements with the utilities available at your site. If your plant shares a cooling loop across several lines, consider what the loop can deliver when those lines run at the same time. Ask who will supply any external equipment needed to maintain the specified water conditions.
Use Residence Time to Compare Layouts
Divide the effective cooling length by line speed to estimate the time the pipe spends in that section. For example, a 6-metre effective cooling length gives approximately two minutes at 3 metres per minute and one minute at 6 metres per minute.
This comparison shows how a speed increase changes the time available for cooling. Use the active cooling length in the calculation and verify the total layout separately. Heat removal also depends on pipe dimensions, incoming material temperature, water conditions and the cooling arrangement. Ask the supplier to explain where the pipe is expected to become stable enough for the next stage.
Decide Whether the Line Needs Additional Cooling
A line may use the vacuum tank for initial sizing and a separate downstream tank for further cooling. Ask the supplier to specify how much cooling takes place in each section at the target output. This is especially important when the proposed line will run thick-wall products and faster thin-wall products on the same equipment.
Include the full equipment footprint in your layout review. Reserve space for connections, opening covers, removing sleeves and moving finished pipe. Check the position of drain outlets and utilities before the equipment arrives so the installation team can route services without obstructing access.
Confirm Compatibility With the Extruder, Die and Haul-Off
Share the line layout and equipment drawings when requesting a quote. The tank inlet should suit the available position after the die, while the outlet should line up with downstream cooling and haul-off equipment. Confirm the centre height, adjustment travel and any required clearance with the supplier.
Provide the actual extruder output range and the tooling configuration planned for the product matrix. HPMC’s twin screw extruder gives context for the upstream equipment in a PVC extrusion line.
Ask how the tank can be repositioned during commissioning and how its alignment is checked after tooling changes. If the equipment is being installed on an existing line, verify floor space and service locations on site. Small differences between an older layout drawing and the installed equipment can affect how the tank connects to the rest of the line.
Review Maintenance, Utilities and Spare Parts
Ask the supplier to identify routine service points. These can include seals, filters, spray nozzles, pump components and drain connections. Check whether technicians can reach them with the tank installed in its final position. Also confirm which checks require a planned shutdown and which indicators can be observed during normal operation.
Request a list of recommended spares and ask which parts are common across the pipe sizes. A replacement seal or sleeve needed for a frequently produced size can affect downtime more than a component held for an occasional product. Include lead times for those parts when comparing offers.
Ask for the electrical load, cooling water requirements and any other utility connections for the complete tank package. If the quotation includes the tank and pumps while the buyer supplies a separate cooling system, identify that boundary in the purchasing documents. Confirm who handles installation, commissioning and operator training. HPMC provides technical assistance for discussing equipment and service requirements.
Plan a Trial Around Your Acceptance Criteria
Choose representative pipe sizes before the trial and provide their finished dimensional limits. Include a high-volume product and a product that tests the line near one of your expected operating limits. Agree on the material, die and sleeve configuration, target speed and sampling procedure in advance.
During the trial, ask the supplier to record the following details.
- Pipe outside diameter, wall thickness and measurements at agreed points around the circumference.
- Actual line speed, output and the length of the steady production run.
- Vacuum readings and water supply conditions during sampling.
- Pipe appearance and dimensions after the agreed cooling and conditioning period.
- Time needed for a representative size change and the first acceptable output.
- Stoppages, manual interventions and adjustments made during the run.
Inspect samples taken at more than one point during steady operation. A single sample can confirm an individual measurement. Samples taken over the run can show whether performance remains consistent. If you also plan a site acceptance trial, agree which conditions will be repeated after installation and how differences in plant utilities will be handled.
Check the Tank for Your Normal Production Schedule
Compare Startups and Changeovers
A tank that performs well during a steady run may still take time to set up after a size change. Ask the supplier to show how the operator identifies the correct sleeve and seals, checks the pipe path and confirms that the first sample meets the product specification. If your plant runs frequent short batches, include this setup time when you estimate how much saleable pipe the line can produce in a shift.
Record Measurements at Consistent Points
Agree on where samples will be taken and when their dimensions will be measured. For example, a warm sample near the tank outlet and a cooled sample collected at the end of the line describe different stages of the process. Keep the sample location and inspection conditions consistent when comparing two tank configurations. Label the samples with their size, line speed and collection time so the inspection team can match each result to the trial record.
Include the Operators in the Review
Have the people who will run the line review the control display, tooling access and visibility inside the tank. Their observations can reveal setup steps that are easy to overlook in an equipment quotation.
What to Include When Comparing Quotations
Ask each supplier to quote against the same product matrix and trial criteria. Compare the equipment supplied for the sizes you intend to produce and the services included in the offer. A lower tank price can still leave separate costs for tooling, water treatment, additional cooling or commissioning.
Use the following details when reviewing each offer.
- The tank configuration, effective cooling length and installed footprint.
- Included sleeves, seals and supports for each specified size.
- Vacuum pumps, controls, instrumentation and water recirculation equipment.
- Utility requirements and buyer-supplied equipment.
- Agreed trial products, target speeds and acceptance criteria.
- Commissioning, training, spare parts and replacement lead times.
Ask the supplier to identify any options required to reach your planned speeds or product range. Then check whether those options appear in the final equipment schedule and price. This gives production and purchasing teams a common basis for comparing the offers.
Conclusion
PVC pipe vacuum sizing tank selection begins with the pipe dimensions, output and line speed your plant needs. Use those requirements to compare sleeve compatibility, vacuum control, cooling capacity, utilities and changeover access. Confirm the tank fits the rest of the extrusion line and validate the configuration with a trial that measures finished pipe quality under agreed operating conditions.
Contact HPMC
Share your pipe size matrix, planned output, available cooling utilities and line layout with Hindustan Plastics and Machinery Corporation to discuss your extrusion equipment requirements.
Address · 5, Category II, DSIDC Industrial Area, Nangloi, Delhi – 110041, India.
Phone · +91 95605 96392.
Email · info@hindustanplastics.com.
Frequently Asked Questions
Find quick answers to the most common questions about this topic.
It houses the initial sizing and cooling section. In an external vacuum sizing arrangement, the pressure difference helps keep the warm pipe against a calibrated sleeve while cooling begins.
Provide the outside diameter, wall thickness, target speed and required tolerances for each size. Ask the supplier to list the sleeves, seals and supports included for those products.
Use the specified finished outside diameter and the supplier’s tooling recommendations. Confirm the combination through a production trial and measurements after cooling.
The requirement depends on the sizing arrangement, product and running conditions. Ask the equipment supplier for the recommended range and verify stability during the trial.
Divide the effective cooling length in metres by the line speed in metres per minute. The result gives the approximate time in minutes.
A suitable configuration can cover multiple wall thicknesses. Confirm the tooling and cooling arrangement for each intended product and test representative sizes at their planned output.
The need for a downstream cooling tank depends on the product dimensions, line speed and available cooling capacity. Ask the supplier to assess the full line and verify the result during trials.
Check vacuum stability, cooling water conditions, line speed, finished dimensions and visible surface quality. Include a representative size change if the line will run several products.
Yes, if it suits the existing line layout and operating requirements. Verify the centre height, tooling connections, available floor space, utilities and downstream equipment before ordering.
Ask for the supplier’s recommended list of seals, filters, spray nozzles, pump components and size-specific tooling. Compare availability and replacement lead times for the parts you expect to use most often.