
Introduction
A PVC pipe can leave the haul-off with an acceptable diameter and still need rework because of the way it was cut. A raised edge may interfere with the next operation, a slanted face can complicate socket preparation, and loose chips can remain inside a pipe that otherwise looks ready for packing. When these problems appear after a blade change, the replacement tool is a sensible place to start the review.
PVC pipe cutter blade selection starts with the cutter design, pipe dimensions and finish required at the cut end. The same line may run thin conduit, thicker solid-wall pipe and products that need different lengths or edge preparation. Each combination gives the cutting unit a different job.
This guide explains how to compare compatible tools, recognise common defect patterns and verify the result on finished production samples.
What Does the Cutter Blade Do on a PVC Pipe Extrusion Line?
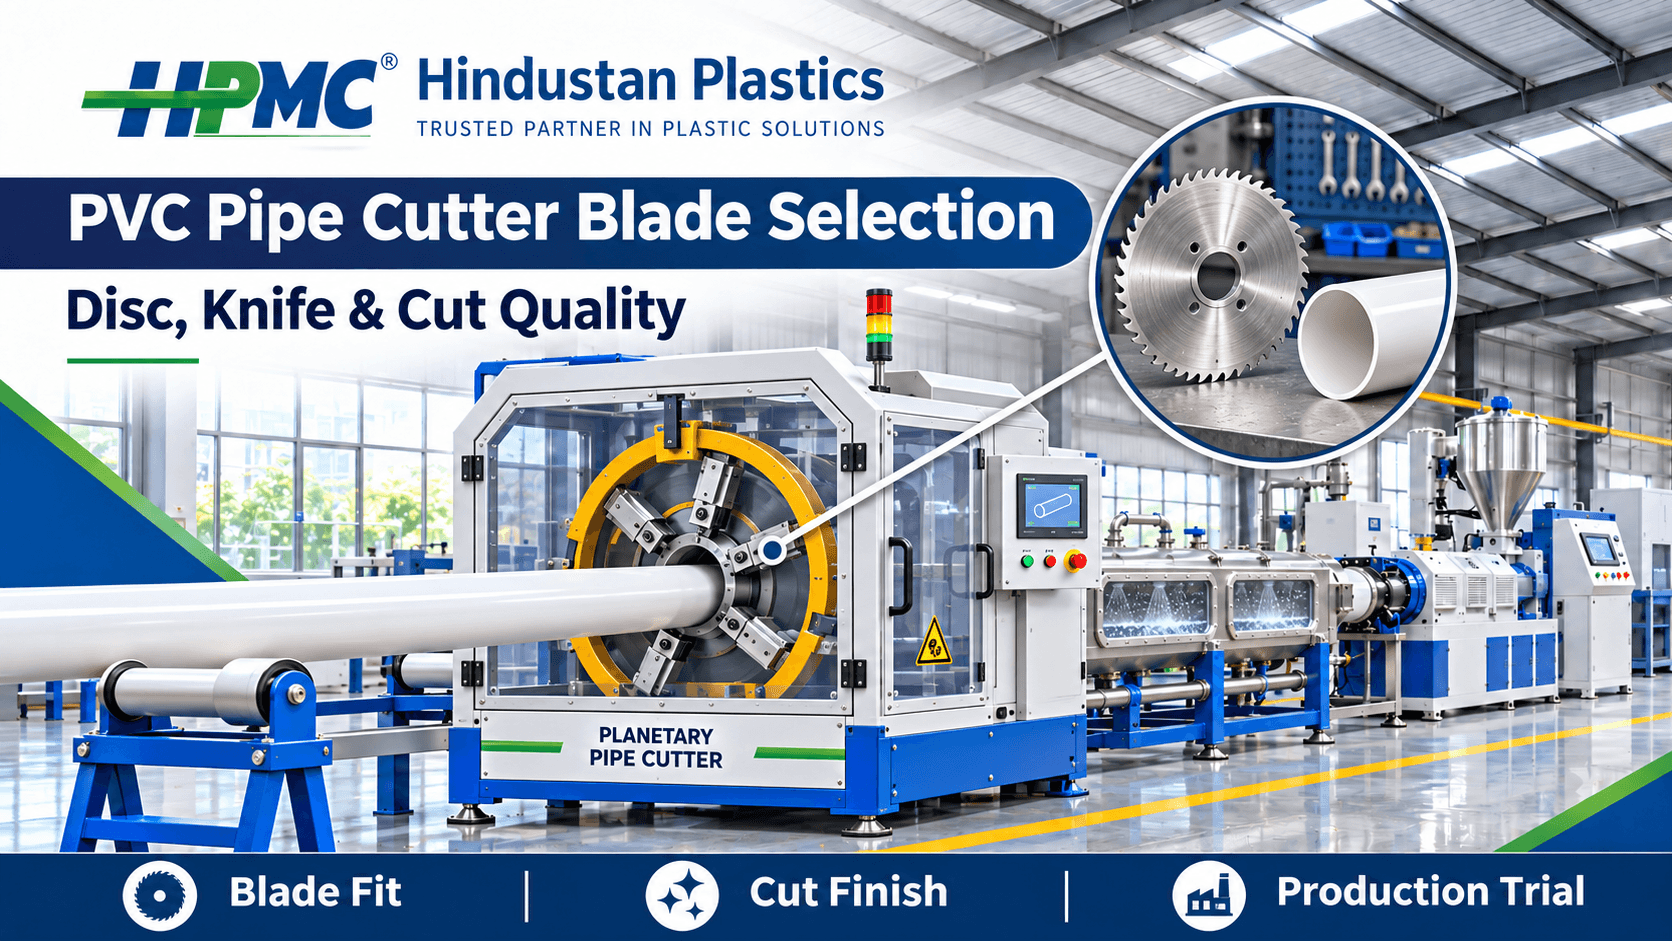
The cutting unit separates the continuously extruded pipe into specified lengths. On a moving cutter, the carriage follows the pipe during the cut and returns for the next cycle. Depending on the machine design, the tool may be a toothed disc, a knife or part of an arrangement that cuts and chamfers in the same cycle. The clamp and carriage help keep the tool and pipe in the required position.
The blade influences how the material separates and what the finished edge looks like. The measuring system and carriage sequence influence where the cut happens. A change in cut length, edge finish or squareness can therefore point to different parts of the unit. See the PVC Pipe Extrusion Line Guide for the position of the cutter relative to cooling and haul-off.
How to Identify the Right Blade for Your Cutter
Start With the Cutter Model
Record the cutter model, serial number and the part number of the tool currently specified for it. Check the manufacturer’s documentation for approved tool dimensions, mounting details and operating limits. If the blade came from an earlier supplier, confirm that its markings match the equipment records before using it as a reference for a new purchase.
A description such as “PVC cutter blade” can refer to several tools with different profiles or mounting arrangements. Compare the replacement against the equipment specification and ask the supplier to confirm compatibility in writing. HPMC provides operating and maintenance documentation through its Machine Manuals.
List the Products the Blade Must Cut
Prepare a product list before requesting a quotation. Give the supplier enough detail to check the tool against both the material and the line’s normal production schedule.
- Pipe construction and the PVC grade or compound designation used in production.
- Actual outside diameter and wall thickness for each regularly produced size.
- Typical line speed, required cut lengths and shortest product planned for the line.
- Required end condition, including any specified chamfer or burr acceptance criterion.
- Current blade part number and photos of representative cut ends.
Include the products that give the line the most trouble. A blade that performs well on one diameter can give a different result on a thinner wall, a larger size or a product cut at shorter intervals. Ask which sizes use the same approved tool and which require a different configuration.
Toothed Disc, Knife and Combined Cutting Arrangements
Toothed Disc Cutting
A toothed disc removes material as it passes through the wall. Check whether the cutter and its chip handling arrangement suit the product. During a trial, inspect the outer edge and the inside of the pipe. Pay attention to chip accumulation and any additional cleaning required before the next operation.
Ask the supplier to confirm the approved tooth form, blade diameter, bore and plate dimensions for the machine. These features need to work together with the cutter’s mounting and available clearance. A matching outside diameter alone gives limited information about whether a disc suits the machine.
Knife Cutting
Some cutters use a knife to separate the pipe with little or no material removal at the cutting stage. The result depends on the cutter design, the tool profile, the pipe construction and the condition of the pipe when it reaches the station. Confirm that the manufacturer approves the arrangement for the required PVC products.
Include the lightest and heaviest representative products in the trial. Inspect the cut edge for compression, distortion and visible marks. Where the product goes into a socketing operation, check how the end behaves during that operation as well.
Cutting and Chamfering in One Cycle
Some planetary cutters incorporate a chamfering tool or combine a disc with a finishing knife. Where the finished product needs a chamfer, define the required geometry and inspection method before comparing tools. A tidy cut face tells you how the pipe was separated. The chamfer dimensions tell you whether the end was prepared for the next operation.
Ask whether the replacement quote covers the cutting tool, chamfering tool or both. Record the part number for each so the maintenance team can identify the correct replacement after a changeover.
Match Blade Specifications to the Production Job
Blade Dimensions and Mounting
Check outside diameter, bore, thickness and any mounting features against the cutter documentation. For a knife, confirm the approved profile, dimensions and holder compatibility. The cutter manufacturer can identify which tool specifications matter for the installed assembly.
Check whether the quote covers a complete tool or an insert that fits an existing holder. If the line has more than one cutter model, label spare tools by model and part number. A shared stock description can create confusion when two lines produce similar pipe sizes with different cutting equipment.
Tooth Geometry and Blade Material
On a toothed blade, tooth shape and spacing affect how the blade engages the wall and clears the material it removes. Discuss the actual PVC compound, wall thickness and cut finish with the supplier. A recommendation for one pipe range may need to be reviewed if the line adds a different formulation or construction.
Ask whether the blade can be serviced and how the supplier assesses wear. Record the conditions for regrinding or replacement and confirm that a serviced tool will remain within the equipment manufacturer’s requirements. Compare samples from a new blade and a serviced blade before treating them as interchangeable in production.
Cycle Time and Short Cut Lengths
A shorter finished length requires more cuts at the same line speed. For example, at 12 metres per minute, a line making 3-metre pieces needs about four cuts per minute. At the same speed, 1.5-metre pieces need about eight. These figures describe the requested cutting frequency. The actual capacity depends on the full sequence, including carriage travel, clamping, cutting and return.
Ask for a trial at the shortest intended length and planned speed. HPMC’s PVC Conduit Pipe Plant Guide provides context for reviewing downstream equipment on a conduit line.
Pattern 1. Burrs Increase During a Production Run
If the first samples are clean and a raised edge develops later, compare when it starts with the cut count and operating conditions. Review the blade’s condition using the manufacturer’s inspection procedure. Also record whether the pipe at the cutter became warmer or whether the product or line speed changed during the run.
Inspect both the inside and outside edges. A defect that repeats at the same position around the pipe can justify reviewing the clamp, pipe support and tool path. A change that becomes more pronounced with use can justify comparing the tool’s condition with a known acceptable blade. Record the pattern before requesting a replacement so the supplier can review a specific symptom.
Pattern 2. The Cut Face Is Slanted or the Length Varies
Check the cut face and finished length separately. If the face is out of square while length remains consistent, compare the pipe position, clamping and cutting path. If the face looks consistent but length varies, review the measuring system, carriage synchronisation and changes in line speed.
Label consecutive samples in order. A series of measurements shows whether the issue repeats every cycle or appears after a speed change. If it affects only one product, include its wall thickness, target length and speed in the review. HPMC’s guide to Common PVC Pipe Extrusion Defects and Their Causes covers related production checks.
Pattern 3. The Pipe End Shows Chipping or Distortion
Inspect where the damage appears on the cut end. If marks repeat near the clamp position, check how the pipe is held and supported. If chips cluster around the cut edge, review the tool condition, tool compatibility and material behaviour at the cutter.
Compare samples collected before and after a product change. A thin-wall product may respond differently to the same support arrangement used for a thicker pipe. A warm pipe may also show distortion that becomes easier to see after conditioning. Use the same inspection timing for each sample so the comparison reflects the change you are investigating.
How to Compare Blades in a Production Trial
Agree on the products, line conditions and acceptance criteria before comparing tools. Include a regular production size and a combination that places higher demand on the cutter, such as a shorter length or a thicker wall. Use approved machine settings and keep the product and sampling method consistent across the comparison.
Record the following results during the trial.
- Finished length and cut squareness using the product inspection procedure.
- Burrs, chips, compression marks and cracks visible on the inner and outer edges.
- Chamfer condition and dimensions where the product requires edge preparation.
- Cutting interruptions, cleaning requirements and any secondary work after the cut.
- Condition of the samples near the start and later in the trial.
Save a representative sample from each approved configuration. If another department carries out socketing, assembly or packing, ask it to inspect the trial pieces against its normal requirements. A blade change can improve the cut face and still leave extra work downstream if the edge preparation or chip removal needs attention.
How to Compare Blade Quotations and Service Costs
Compare quotes against the same cutter model and product list. Ask what the price includes, how the blade is identified and which inspection or service options the supplier provides. For a combined cutter, check whether separate tools are needed for cutting and chamfering and whether they are supplied together.
Include the cost of secondary work in the comparison. For example, two tools may give acceptable dimensions while one leaves more loose material to remove before packing. Record the extra cleaning time or any rejected pieces during the trial. Also compare the lead time for a replacement and the availability of approved service for a worn tool.
Keep the quote, approved part number and trial record together. When a tool is reordered months later, the team can match the purchase to the tested configuration and check whether the supplier has proposed any changes.
What to Record After Approving a Blade
Keep a record of the blade part number, installation date, product range and reason for replacement. Where the machine records cut counts, capture them when inspecting or removing the tool. This helps the team compare wear across production runs without relying only on calendar time.
Record the first acceptable sample after each replacement. If a defect later appears, compare the latest measurements and cut photos with that reference. Share the cutter model, pipe dimensions, production speed and sample results when requesting HPMC Technical Assistance.
How to Inspect the Cut End Before Comparing Blades
Check the Whole Circumference
Look at the inside and outside edges before the sample is cleaned or prepared for the next operation. Use the same inspection conditions for each tool and retain examples of the typical finish. A single photograph of the outer edge can miss loose chips or a raised edge inside the bore. Record the location of any recurring mark so the team can compare it with the clamp and tool path.
If the pipe is normally inspected after conditioning, follow that procedure for the dimensional checks. Keep the same interval between cutting and measurement when comparing trial pieces. Measure squareness and length using the points defined in the inspection procedure. This makes it possible to compare samples even when two operators collect them on different shifts.
Verify the Next Production Step
Send representative trial pieces through the next operation if the plant normally sockets, assembles or packages the pipe immediately after cutting. Record whether the operator needs additional trimming, cleaning or handling. These observations help distinguish an edge that looks acceptable at the cutter from an end that is ready for its intended use.
For a product with a chamfer requirement, include the chamfer measurement in the sample record. If a sample shows an uneven chamfer, note whether the cut face was already out of square. Inspecting both features on the same sample helps identify which operation deserves a closer review.
Check Blade Performance After a Product Changeover
Keep the first approved sample after a changeover and collect another once the line reaches its planned speed. Compare the two ends and record which clamps, guides and tooling were used. If quality changes only as speed increases, check whether the carriage and cutting cycle can keep up at the new rate. If the issue appears before the speed increase, review the product setup and pipe support first. Include both samples when discussing the result with the supplier.
Conclusion
PVC pipe cutter blade selection begins with the tool approved for the cutter and the products made on the line. Compare blade compatibility, cut finish, cycle capacity and downstream handling using representative samples. When a defect appears, record where and when it repeats, then compare the tool condition with the clamp, carriage, pipe temperature and production speed. A documented trial gives the production and purchasing teams a shared reference for replacements.
Contact HPMC
HPMC (Hindustan Plastics and Machinery Corporation).
For an equipment review, share your cutter model, current blade part number, pipe size range, wall thickness, target line speed and photos of the cut ends.
Address: 5, Category II, DSIDC Industrial Area, Nangloi, Delhi – 110041, India.
Website: www.hindustanplastics.com.
Phone: +91 95605 96392.
Email: info@hindustanplastics.com.
Google Business Profile: HPMC on Google.
Frequently Asked Questions
Find quick answers to the most common questions about this topic.
Start with the approved tool specification for the cutter model. Then confirm compatibility with the pipe construction, diameter, wall thickness, cut length and finish requirements.
A blade can cover several sizes when the cutter manufacturer approves that range. Check the representative sizes and wall thicknesses during a production trial.
A toothed disc removes material as it cuts. A knife separates the wall with little or no material removal in suitable cutter designs. Confirm which arrangement your machine supports.
Possible factors include tool condition, tool compatibility, pipe temperature and support during cutting. Check where the burr repeats and when it first appears.
Check the measuring system, carriage synchronisation and line speed when length varies. Compare these observations with cut squareness and the blade condition before choosing a correction.
Use the manufacturer’s inspection and service criteria. Track cut quality, wear and any recurring defects that appear during production.
Chamfer requirements depend on the product specification and downstream operation. Confirm the required end geometry before selecting the cutter tooling.
Measure finished length, squareness and any specified chamfer. Inspect both edges for chips, burrs and distortion, and record whether extra cleaning or finishing is required.
Shorter pieces require more cutting cycles at the same line speed. A trial confirms whether the full cutter sequence can keep up while maintaining the required finish.
Share the cutter model, existing part number, pipe material, size range, wall thickness, target line speed and photographs of acceptable and defective cut ends.