
Introduction
A PVC pipe can meet its dimensional specification and still fail a final inspection because the marking is incomplete. A batch number may rub off during stacking, a long product description may become difficult to read at higher speed, or a printed line may fall across the cut point. Each problem affects the ability to identify the pipe after it leaves production.
PVC pipe printing machine selection starts with the information that must appear on the product and the conditions at the proposed marking station. A useful comparison includes the pipe surface, line speed, repeat interval and the operations the marked pipe will pass through before dispatch.
This guide explains how to compare printing technologies, plan the installation and assess actual production samples before approving a machine.
What Does a PVC Pipe Printing Machine Do?
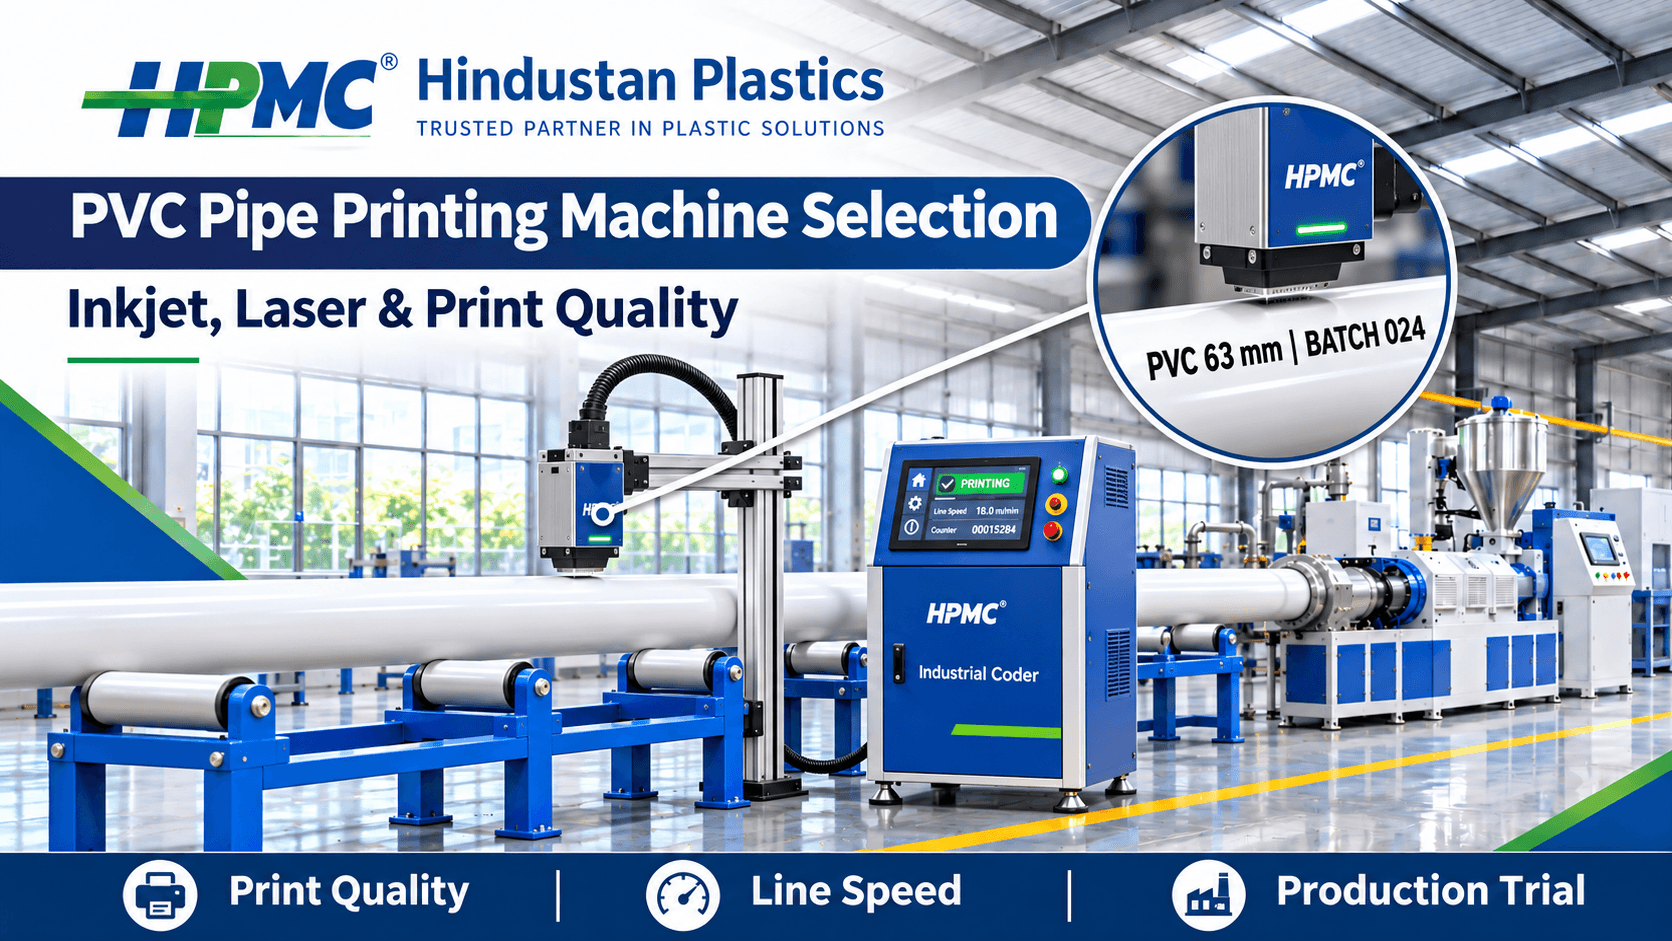
An inline marking machine applies identification to the pipe as it moves through the extrusion line. Depending on the product and customer requirements, the message can include a brand name, nominal size, batch number, production date or other traceability information. Some applications also call for length marks or a code that links to the manufacturer’s production records.
The marking station must fit the downstream process. The pipe has already passed through stages that affect its temperature, surface condition and movement. Farther down the line, guides, cutting and handling can affect the finished mark or its position. Review those stages when choosing a location for the printer. HPMC’s PVC Pipe Extrusion Line Guide explains the sequence of a typical line.
Define the Mark Before Comparing Machines
Start with an approved example of the finished marking. Ask the production and quality teams to agree on the required text, character size, print area and repeat interval. Include the longest expected message and an example of the batch information operators will change during production.
- Record the fixed text, such as the brand and product description.
- Identify the fields that change by job, shift or batch.
- Specify the required character height, orientation and readable area.
- Record the repeat interval or the required position on each finished length.
- Describe the appearance and durability criteria used to approve the mark.
Where a product calls for a standard reference or certification mark, use the wording authorised for that product. Keep an approved master message for each product family. The master helps the team check what appeared on the pipe against what the job required, especially when several sizes use similar descriptions. Use the same master for repeat orders when applicable.
Compare Continuous Inkjet and Laser Marking
Continuous Inkjet Printing
A continuous inkjet printer applies ink to the moving pipe without contacting it. It can suit applications that use variable messages and require a visible colour difference between the ink and the pipe. The chosen ink should be evaluated on the actual compound, colour and finish produced by the plant.
Ask the supplier to show samples at production speed and to explain which consumables the proposed configuration uses. A dark ink may be easy to read on light pipe. A darker pipe may need a different ink or marking approach to provide suitable contrast. Check the mark after normal handling as well as immediately after printing.
Laser Marking
A laser system forms a mark by changing the appearance of the surface. The result depends on the laser configuration and the response of the specific PVC compound. Two pipes with the same colour may respond differently because their formulations or finishes differ. Ask for marked samples from each important product group before choosing equipment.
Review the complete installation scope, including the enclosure and the extraction requirements identified by the supplier for the material and equipment. Agree who is responsible for integrating the system with the line. Evaluate the mark for legibility and any product requirements that apply to the marked surface.
How to Decide Between the Two
Compare samples made with the same message and the same pipe under representative conditions. Include contrast, handling performance, changeover time and ongoing operating requirements in the comparison. Ask suppliers to quote the accessories and installation work needed to reproduce the demonstrated result at your site.
Check the Pipe Surface at the Marking Station
Surface Moisture and Temperature
A pipe may carry water from the cooling section or reach the printer at a different temperature as the production rate changes. For inkjet, assess whether the surface is suitable for the proposed ink and whether the mark has enough time to dry before it contacts guides or other pipes. Record the pipe condition at the time each trial sample was made.
Check the first samples after startup and a second group after the line settles. If quality changes between those stages, record whether surface moisture, temperature or speed also changed. This helps the supplier review the proposed location or recommend an appropriate configuration.
Diameter, Colour and Surface Finish
Pipe diameter affects where the surface sits in relation to the printhead or marking window. Colour affects contrast, and surface finish can change how clearly characters appear. Test the smallest and largest representative diameters and include each surface finish that accounts for regular production.
On a dual-output line, decide whether both strands need to be marked and how operators will confirm the correct message on each one. Check the space for the equipment and access around both pipe paths. HPMC’s PVC Conduit Pipe Plant Guide provides context on conduit line arrangements.
Match the Printer to Line Speed and Repeat Length
Test the Complete Message at Production Speed
Ask suppliers to demonstrate the intended character height and full message at the highest normal speed for that product. A short demonstration code gives limited information about a longer production message with multiple fields. Inspect consecutive marks and compare character spacing, readability and completeness.
Include typical acceleration and slowdown in the trial if those conditions are part of the plant’s production process. Record whether the equipment maintains the required spacing and where any change appears. Confirm how the system handles the transition from startup material to acceptable production.
Check How the Printer Measures Distance
Where printing must repeat at a set distance, ask how the machine receives pipe movement information. An encoder can provide movement feedback on a compatible installation. Review where it measures movement and how the proposed arrangement accounts for pipe movement relative to a roller or measuring wheel.
For example, a line running at 30 metres per minute with a mark every metre requires about 30 print triggers per minute. Use this calculation to describe the job to the supplier. During the trial, measure the actual distance between marks on the pipe and confirm the system meets the agreed tolerance.
Coordinate Printing With the Cutter
Where each cut length needs a complete mark, review the printing and cutting sequences together. If the two systems operate on independent intervals, a cut can land inside a message. Inspect finished pieces and verify the mark is present and readable on each one under normal operating conditions.
Agree where the code should sit relative to the end of the piece. If the pipe later goes through socketing or trimming, verify that the downstream operation leaves the required identification visible.
Pattern 1. The Printed Mark Smudges During Handling
Check when smudging appears and what touched the pipe before the defect became visible. If the mark looks clear at the station and smears farther downstream, review drying time, the surface condition and contact with guides or adjacent pipes. Collect samples before and after the first handling point.
If the problem affects one colour or compound, compare that product with an acceptable sample printed using the same setup. Record the ink identification and time between printing and handling. Ask the supplier to evaluate adhesion using the test agreed for your production trial.
Pattern 2. Characters Are Uneven or Marks Are Missing
Look for a relationship between the defect and movement of the pipe. If print quality changes as the pipe shifts on its supports, review the marking position and the pipe path. If complete marks are missing while the characters in the remaining marks look clear, review the trigger and job sequence with the equipment supplier.
Keep samples in the order they were produced. Note whether missing marks appear after startup, at a particular speed or after a changeover. Add the condition of the pipe and any concurrent production issue to the report. HPMC’s guide to Common PVC Pipe Extrusion Defects and Their Causes covers related process checks.
Pattern 3. The Mark Is Clear but the Data Is Wrong
Compare the printed message with the approved job record. An incorrect size, date or batch identifier can appear on every piece even when the printing equipment runs consistently. Determine which fields come from a stored message and which are entered or updated for each job.
Agree who approves the first production sample after each message change. If information comes from another system, include that transfer in the trial and check how the operator sees the selected job. For batches that span a shift change, confirm when each field should update according to your traceability procedure.
Plan Installation and Routine Service
Before ordering, identify the proposed mounting position and the space required for access. Ask the supplier to confirm that the equipment can be positioned for the intended diameter range and that routine service points remain accessible. Check how the setup will be recorded so operators can reproduce it after a product change.
Review electrical connections, any required signals from the line and the division of responsibility for installation. Ask which equipment alarms the operator will see and how a marking interruption is handled under your quality procedure. Confirm whether the quotation includes training, documentation and commissioning. HPMC’s Machine Manuals provide documentation for reviewing the existing line.
How to Run a Representative Production Trial
Choose one high-volume product and one that places greater demand on the marking system. The second product might be a dark pipe, a smaller diameter, a longer message or a run at higher speed. Provide samples from normal production and use the message that will appear on the finished product.
- Verify the full message and code position on the first accepted sample.
- Inspect consecutive marks at steady speed and after a normal speed change.
- Measure repeat spacing or mark location on finished cut lengths.
- Check contrast and legibility under the lighting used for final inspection.
- Assess the mark after the agreed handling, packing or durability test.
- Time a product and message changeover using the proposed workflow.
Retain labelled samples and record the line conditions under which they were marked. If the supplier runs the trial at a separate site, agree which checks will be repeated after installation. The pipe support, available space and handling sequence on the actual line may differ from the demonstration setup.
Compare Quotations and Running Costs
Ask each supplier to quote the same product range, marking requirements and trial conditions. Review which brackets, sensors, controls and installation work are included. For inkjet, ask about the expected consumables and service requirements under the proposed duty cycle. For laser, include the required enclosure, extraction and associated service items in the scope.
Compare how long it takes operators to set up the next job and verify its first acceptable mark. For plants with frequent changeovers, the time needed to select a message and confirm the next product can affect output throughout a shift. Document the assumptions used in the comparison so purchasing can relate the quoted scope to the production trial.
What to Share When Requesting Technical Support
Include the line layout, pipe dimensions, compound or material details, colour range and operating speeds. Send a copy of the approved message and photos of acceptable and defective marks. State whether the problem first appeared at startup, after a changeover or during steady production. Share the spacing measurements if the mark position is part of the issue.
If the printer and cutter are involved, send photographs of complete finished lengths showing the position of the mark relative to the ends. These details help the equipment team review the sequence. HPMC Technical Assistance.
Set Acceptance Criteria for Everyday Production
Agree How Inspectors Will Read the Mark
Choose the point at which the finished mark will be inspected and describe what counts as readable. If the quality team reads codes after packing preparation, collect trial samples at that stage as well. Include the smallest required characters and any separators between fields. A missing separator can make two values look like one even when all the characters were printed.
Where a customer specifies machine-readable codes, use the agreed reader or verification method during the trial. Check the code on the actual curved surface and at the required reading position. Save examples of accepted and rejected marks so operators have a reference during job changes.
Decide What Happens When a Mark Is Missing
Agree how the line identifies pipe produced while marking is interrupted. Review how the operator is alerted, what product needs to be held for inspection and when the first accepted piece can return to normal packing. Ask the supplier to demonstrate the available signals before accepting the installation.
Run the same review after a planned message change. Confirm that the first accepted pipe carries the new product information and that pieces made during the transition are identified. Record who checks the sample and how the result is saved in the production record.
Conclusion
PVC pipe printing machine selection begins with the required mark and the conditions under which it will be applied. Compare inkjet and laser options on the products you make, including the actual surface finish, line speed and message length. Verify the mark after cutting and handling, then document the approved configuration and trial results for future product changes.
Contact HPMC
HPMC (Hindustan Plastics and Machinery Corporation).
For an equipment review, share your PVC pipe size range, line speed, proposed marking location and required print format.
Address: 5, Category II, DSIDC Industrial Area, Nangloi, Delhi – 110041, India.
Website: www.hindustanplastics.com.
Phone: +91 95605 96392.
Email: info@hindustanplastics.com.
Google Business Profile: HPMC on Google.
Frequently Asked Questions
Find quick answers to the most common questions about this topic.
Define the required message, pipe size range, surface condition and maximum production speed. Test representative products before choosing the equipment.
Continuous inkjet deposits ink on the pipe. Laser marking changes the appearance of the pipe surface. Compare actual samples for legibility and durability.
It may, depending on the technology and configuration. Test the contrast on every important pipe colour before approving a setup.
Possible factors include moisture, ink compatibility and contact before the mark dries. Check the pipe condition and compare samples before and after handling.
Choose a location with stable pipe movement, suitable surface conditions and enough service access. Verify the position with the printer supplier and the line layout.
An encoder can provide movement information to a compatible printer so marks can be placed at the intended spacing as line speed changes.
Review print timing and cut timing together. Check actual finished lengths during the trial to confirm that each piece carries the complete required mark.
Test representative pipe sizes, colours, speeds and the full production message. Check readability, spacing, position and durability after normal handling.
Many industrial printers support variable fields. Confirm how the proposed system receives and updates the information and how operators verify it.
Provide pipe dimensions, material and colour, line speeds, required messages, repeat spacing and the proposed installation location. Include the tests required for acceptance.